

Managing Clients
Keep your client list up-to-date within Trimble Ag Software, with simple online tools to associate or quick-add new clients with fields on your farm. Clients are managed outside of specific crop years.
Keep your client list up-to-date within Trimble Ag Software, with simple online tools to associate or quick-add new clients with fields on your farm. Clients are managed outside of specific crop years.
View and manage farm assets online to see what’s growing where and who you’re selling to, with summary and detail views.
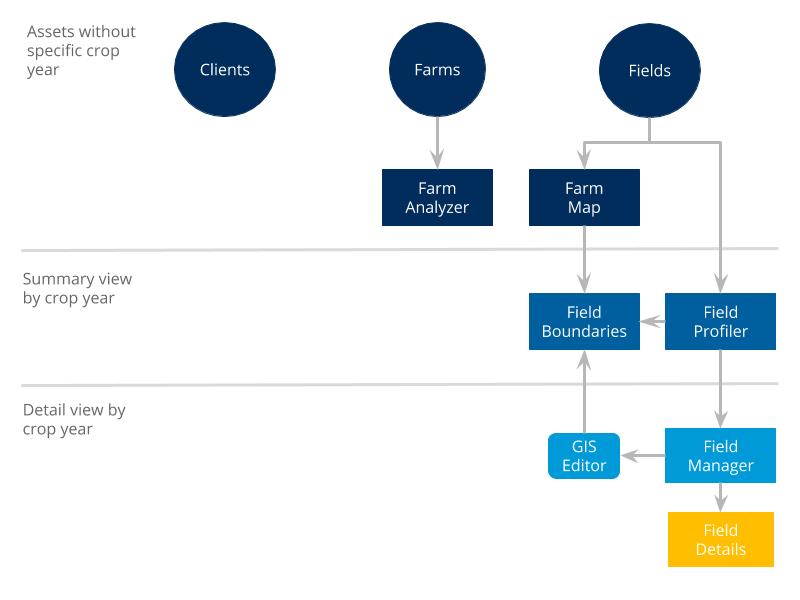
Once farm assets are set up online in your Trimble Ag Software account, including clients, farms and fields, you can view and make certain changes to these records on the mobile app.
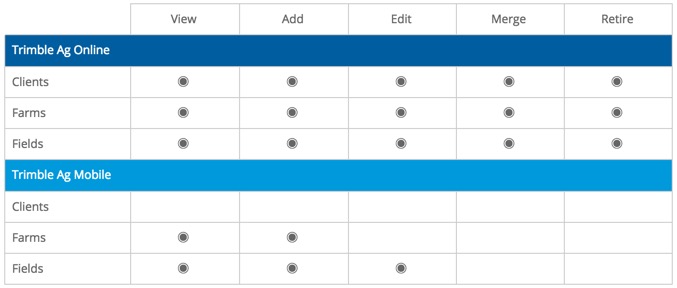
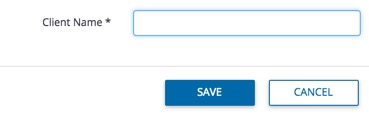
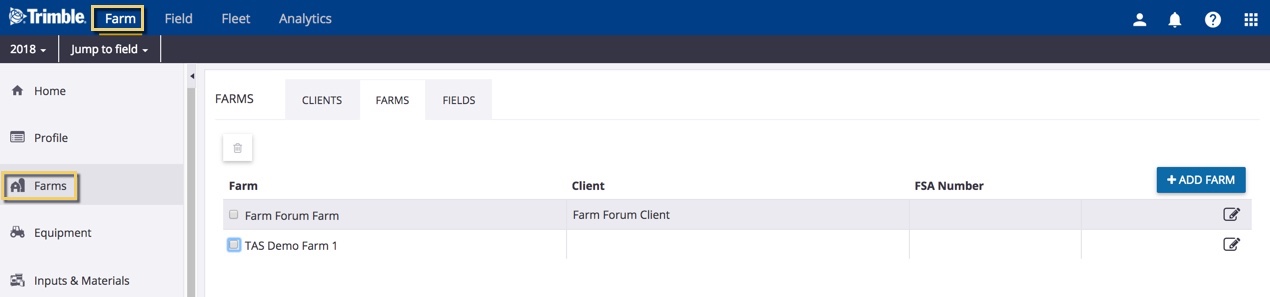
Update your list of client names online, to make it easy to group fields and farms on your Trimble Ag Software account. Most precision ag displays require the client name (also known as grower). Clients are not visible on the mobile app.
Related: Use contracts to save detailed sales agreements, which can also be associated with storage bins and transactions during harvest. Contracts are not tied to your client list. Set up contracts online under the Farm menu, or on the mobile app from the Contracts tile.
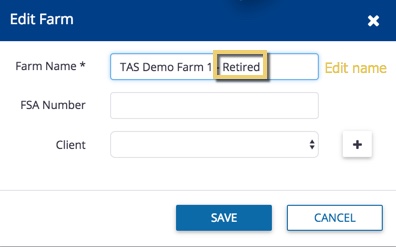
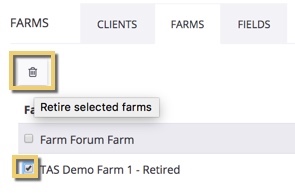
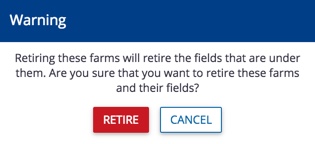
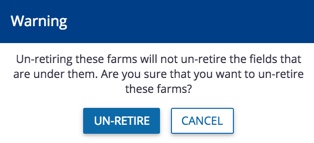
When you’re starting to set up your Trimble Ag Software account, you can easily retire clients, farms or fields from your online account, with the option to unretire partial details for these items later. Do this in the early stages of setting up your account as, once items are retired, some important information such as operational data and expenses may not be available if the asset is unretired later.

Note: Fields deleted with the Manage button on Field Manager Overview may still be visible in the list of fields under the Farm menu, where they can be retired from view.